
If you’re running a website, one of the most important things you can do is keep track of how visitors interact with your content. That’s where web analytics come into play, and Statcounter is a tool that makes this job easier than most. Whether you’re a blogger, small business owner, or part of a digital marketing team, understanding how to use Statcounter login is your first step toward getting better insights into your website performance.
This guide is here to walk you through the essentials from creating your account and logging in, to using the dashboard effectively. You’ll also pick up helpful tips on how to monitor your website traffic, real-time visitors, user activity, and more.
Table of Contents
What Is Statcounter and Why Should You Use It?
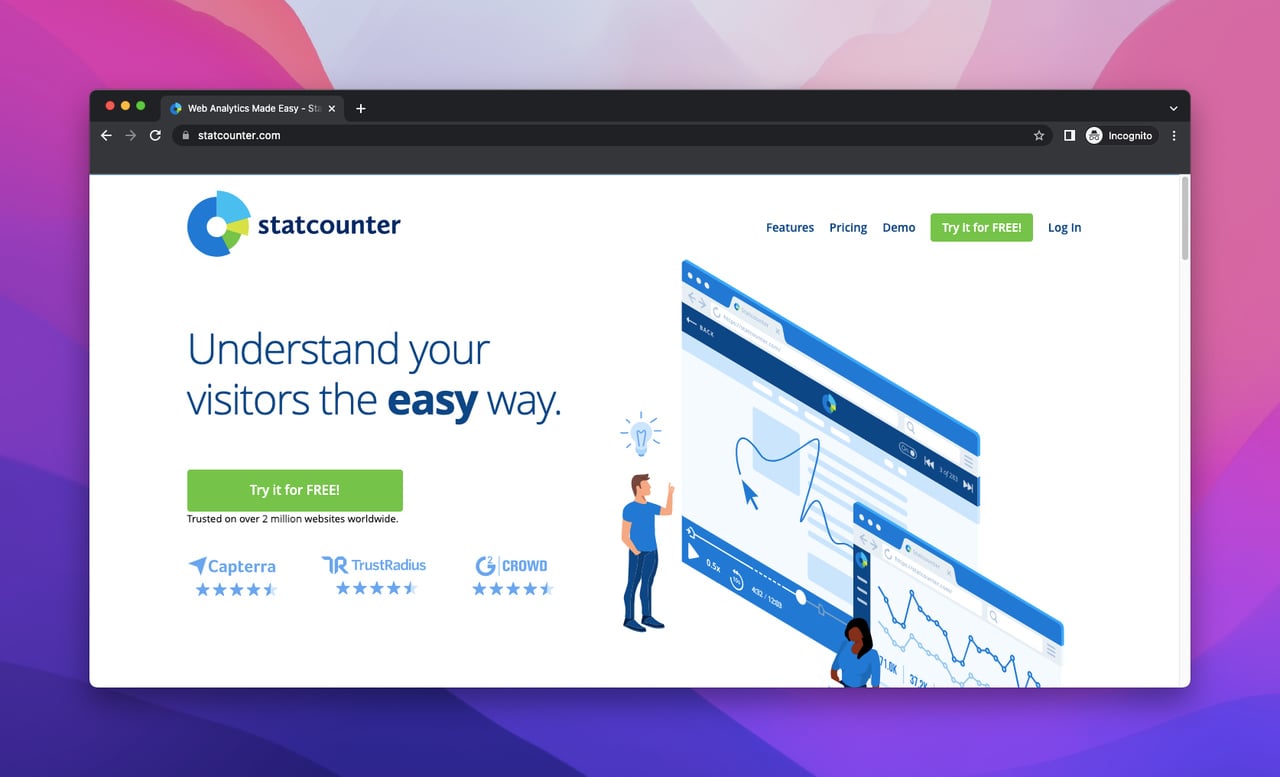
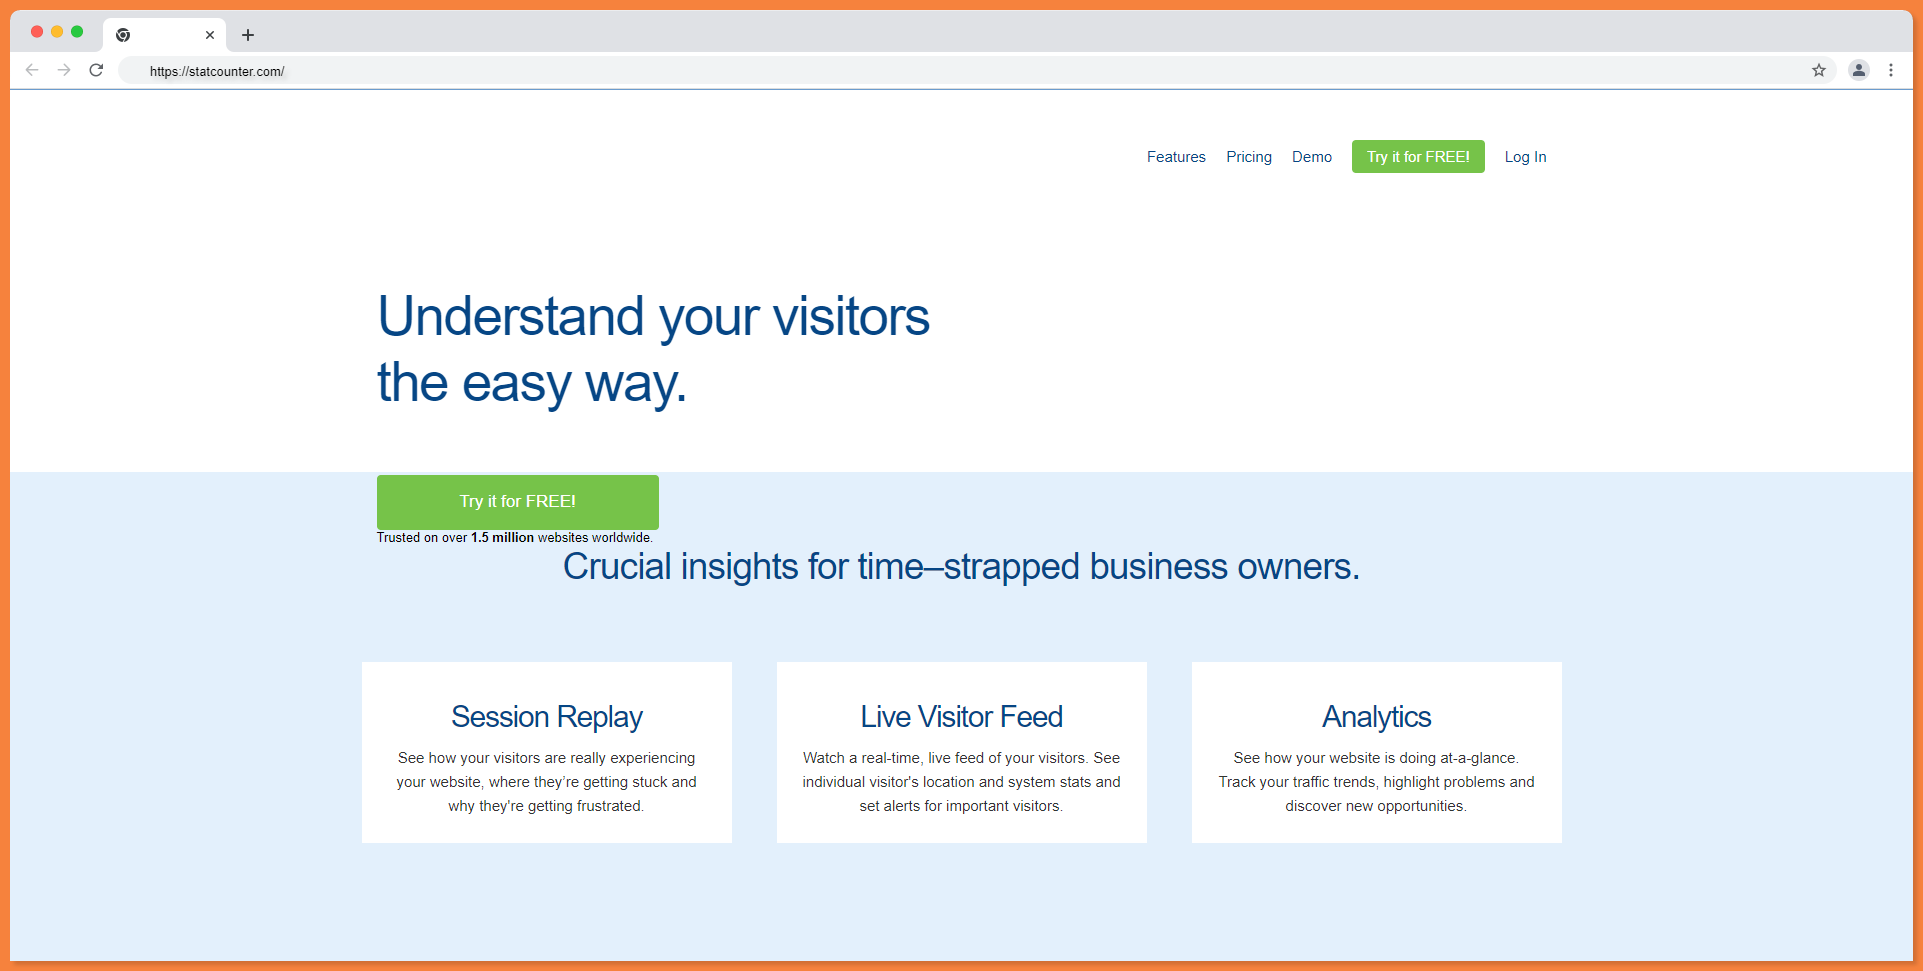
Statcounter is a real-time web analytics service that shows you detailed reports about your website traffic. Unlike some bulky alternatives, it’s straightforward and focuses on presenting useful insights in an easy-to-read format.
Once you log in, you can track visitor paths, see what devices they’re using, find out how long they stay on a page, and even watch session replays to see where they click. If you’re trying to understand user behavior without getting overwhelmed, Statcounter is one of the simplest tools to get started with.
It’s especially popular among website owners who need real-time results without the complexity of filters or configurations. Plus, its easy integration with content management systems like WordPress and Joomla makes it an accessible option for beginners.
How to Create a Statcounter Account (Step-by-Step)
To begin tracking your visitors and analyzing your website’s performance, the first step is to set up your Statcounter account. The process is easy and doesn’t require any technical knowledge. Just follow these simple steps:
Step 1: Go to the Statcounter Website
Visit www.statcounter.com and click on the “Sign Up” button at the top right corner.
Step 2: Fill in Your Basic Details
Enter your full name, email address, and a secure password. Then click to proceed.
Step 3: Confirm Your Email Address
Check your inbox for a confirmation email from Statcounter. Click the verification link to activate your account.
Step 4: Set Up Your First Project
You’ll be prompted to create your first “project,” which is simply your website.
- Enter your website’s name and URL
- Select your time zone
- Choose whether to show or hide the tracking code on your site
Step 5: Get Your Tracking Code
After setting up the project, Statcounter will generate a unique tracking code for you.
Step 6: Install the Tracking Code on Your Website
- If you’re using WordPress, install the Statcounter plugin and paste in your project code.
- For other platforms, manually insert the tracking code into your website’s header or footer section.
Step 7: Start Tracking Your Traffic
Once the code is in place, Statcounter will begin monitoring your traffic in real time. You’ll see visitor session data, page views, and user interaction insights instantly.
Understanding the Statcounter Login Process
Before you can start analyzing your website’s performance, you need access to your dashboard. The Statcounter login process is simple, but keeping your credentials secure is essential. Here’s how to log in and make the most of your account access.
Step 1: Visit the Statcounter Website
Go to www.statcounter.com using any browser of your choice.
Step 2: Click the “Login” Button
Look for the “Login” button in the top right corner of the homepage and click it.
Step 3: Enter Your Credentials
Type in your registered email address and password in the provided fields.
Step 4: (Optional) Select “Remember Me”
If you’re on a personal device, you can tick the “Remember Me” checkbox to stay signed in for future visits.
Step 5: Access Your Dashboard
Once logged in, you’ll be taken directly to your main dashboard where you can view traffic stats, real-time visitors, and analytics reports.
Step 6: Forgot Your Password?
If you can’t remember your password, click the “Forgot Password?” link below the login form. Statcounter will send a password reset link to your registered email.
Step 7: Secure Your Account
To enhance security:
- Regularly update your password.
- Avoid logging in from shared or public computers.
- Enable two-factor authentication if the option is available.
What You’ll See After You Login
Once you’re in, you’ll land on the dashboard—a clean, user-friendly space filled with real-time visitor data. You’ll see things like:
- Recent visitor paths
- Entry and exit pages
- Country and location of visitors
- Returning vs. new visitors
The dashboard is customizable. You can move widgets around, filter data by date, and focus on the metrics that matter most to you. If you’re tracking a marketing campaign or website update, this will help you measure how users respond to changes.
You’ll also find advanced tools like heatmaps and session replays. These give you a visual idea of where users are clicking, how they scroll, and when they leave a page. It’s a practical way to boost engagement rates, fix layout issues, or improve content placement.
Keeping Your Statcounter Account Secure
- You can update your email, reset your password, and check recent login activity from your account settings.
- Statcounter allows you to add team members and assign them different access levels such as view-only or admin.
- It’s a useful feature for agencies or businesses where multiple people manage analytics.
- You can control whether your website statistics are private or publicly visible.
- This is helpful when sharing traffic data with clients without giving full account access.
- Statcounter includes built-in cookie consent options to support GDPR compliance.
- You can manage what visitor data is collected and how long it is stored.
- All privacy and security settings are easy to configure without any coding skills.
Integrating Statcounter with Other Platforms
Statcounter works with just about every website platform. If you’re on WordPress, the plugin lets you install the tracking code in seconds. Just paste your project ID, and you’re good to go.
For custom websites or platforms like Joomla and Drupal, you can insert the tracking script manually into the site’s code. Place it just before the closing </body> tag to start receiving visitor logs.
You can also access your analytics on the go using the Statcounter mobile app. Available for both Android and iOS, it gives you a quick view of your real-time stats, visitor logs, and recent activity. This is useful if you need to keep an eye on your site performance while traveling or during work hours.
Making the Most of Your Analytics
Once you’re logged in and set up, the goal is to use this data to improve your website. You can schedule email reports that give you a regular summary of your website’s performance. These reports can be daily, weekly, or monthly, depending on your preference.
Keep an eye on key metrics like:
- Bounce rate
- Average session time
- Page load speeds
- Top exit pages
These indicators tell you what’s working and what’s not. If visitors are leaving after one page, maybe your content isn’t holding their attention. If session times are low, your pages might be loading too slowly or lack engaging content.
You can also compare stats across different time periods. This is helpful if you’ve recently made changes to your site or launched a new campaign. With this, you’ll know what’s driving growth and where to adjust.
Final Thoughts
Using Statcounter login effectively means you’re one step ahead in managing your website. You’re not just collecting numbers—you’re understanding how people use your site, and that’s powerful. From setup to smart insights, Statcounter offers the tools you need to keep your site performing well.
And the best part? You don’t need to be a tech expert to use it. With its clean design, reliable tracking, and real-time updates, Statcounter puts control back into your hands. So go ahead Log in, monitor, adjust, and grow.
Frequently Asked Questions
Q1. How do I create a Statcounter account?
Go to the Statcounter website, click “Sign Up,” enter your details, and set up your project.
Q2. What if I forget my Statcounter password?
Click “Forgot Password?” on the login page and follow the email link to reset it.
Q3. Can I track multiple websites?
Yes, you can create separate projects for each website under one account.
Q4. Is Statcounter compatible with WordPress?
Yes, just use the Statcounter plugin and paste your project ID.
Q5. Is my data secure on Statcounter?
Yes, with features like login monitoring, access control, and GDPR tools.
RELATED ARTICLES


Latest Articles
 People Over Papers: Protecting Immigrant…In General
 Budget Vs. Quality: Comparing Pre-school…In Business
 Instagram IP Address Blocked: How Long I…In Technology
 Fast, compliant global background screen…In Tech Startups
 Balancing Investment and Protection with…In Insurance
 Japan Tour Packages for Travellers Who W…In Tips
 Getting What You Need: Align Your Action…In General
 Preventing Dust Damage With Proper Lapto…In Gadgets